Highlighting a vocal track is arguably the most important aspect of a modern-day mix. The human voice conveys emotion and messages in a way that instruments simply can’t. Drawing that connection with the listener is crucial, and to maximize this connection, there are certain tools of the trade that can help your vocal mix reach its full potential.
Like a fingerprint, the human voice is unique–shaped by anatomy, upbringing, and even the recording environment. Considering these variations, there isn’t a one-size-fits-all vocal chain. However, certain essential tools, often referred to as a basic vocal chain, can enhance almost any vocal and help forge that all-important bond with the listener. In this guide, we’ll cover the key components of an ideal vocal chain, along with tips for mixing vocals to match different voice characteristics.
Understanding the Basics
What is a Vocal Chain?
A vocal chain is a series of audio processing techniques and tools used to enhance and shape the sound of a vocal recording. Think of it as a toolkit that helps you transform raw vocal takes into polished, professional-sounding tracks. In the world of vocal production, a well-crafted vocal chain is essential for achieving a natural sound that sits perfectly in the mix.
At its core, a vocal chain typically includes a combination of plugins and effects such as EQ, compression, reverb, and delay. Each component plays a specific role in correcting and enhancing the vocal sound. For instance, EQ helps to balance the frequency spectrum, compression controls the dynamic range, and reverb and delay add depth and space. By carefully selecting and applying these tools, you can create a vocal track that not only sounds great on its own but also blends seamlessly with the rest of the mix.
The Source: Vocal Recording
Before we dive into the vocal chain itself, let’s talk about the importance of starting with a high-quality recording of the original vocal. I know not everyone has access to a range of mics, and many of us rely on a single workhorse mic to multiple recording applications. Thankfully, with companies like Shure, Warm Audio and Peluso, it’s easier than ever to access high-quality microphones without breaking the bank.
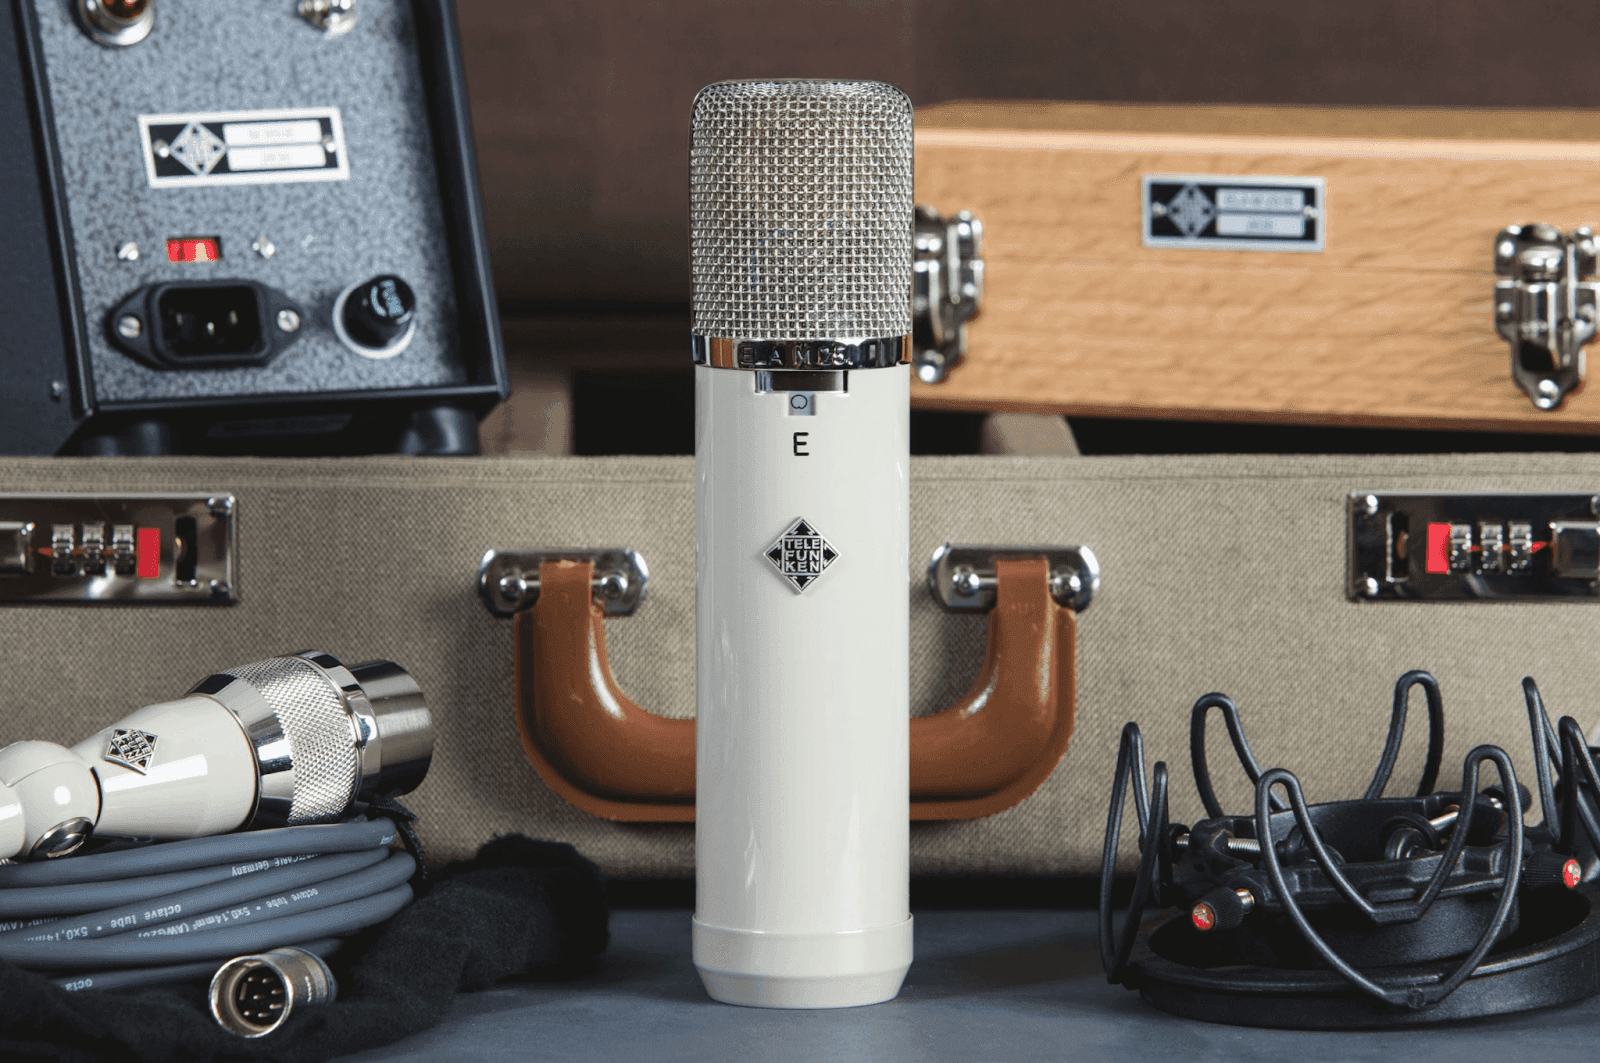
We’re living in a golden age of audio gear, and today you can find affordable versions of designs that once required a second mortgage to own. For instance, if you’re recording a bright voice, a ribbon mic like the RCA 44 can help tame those harsh high frequencies. On the flip side, if your vocalist needs a bit more “air” in the top end, a microphone based on the Telefunken ELAM 251 could be your go-to for capturing high-end clarity.
Ok ok! Enough with the microphone rant….onto building a vocal chain!
Preparing the Vocal Track
Recording and Editing
Before diving into the world of vocal processing, it’s crucial to start with a high-quality recording. The foundation of any great vocal chain is a clean, well-recorded vocal track. To achieve this, use a good quality microphone and record in a quiet room to minimize unwanted background noise. Techniques like using a pop filter and positioning the microphone correctly can also make a significant difference.
Once you have your recording, the next step is editing. This involves removing any unwanted noises, breaths, or mistakes that may have been captured. Editing software like Pro Tools or Logic Pro can be invaluable for this task. By meticulously editing your vocal track, you ensure that it is free from distractions and ready for further processing. Remember, a well-recorded and edited vocal track is the cornerstone of a successful vocal chain.
Building a Basic Vocal Chain
When thinking about a pro vocal chain, it’s easy to focus on the fun parts–flattering EQ, dynamic compression and spacious reverb. However, some essential tools solve problems before you get to the exciting stuff. One commonly overlooked tool is the de-esser.
De-essing in Vocal Processing
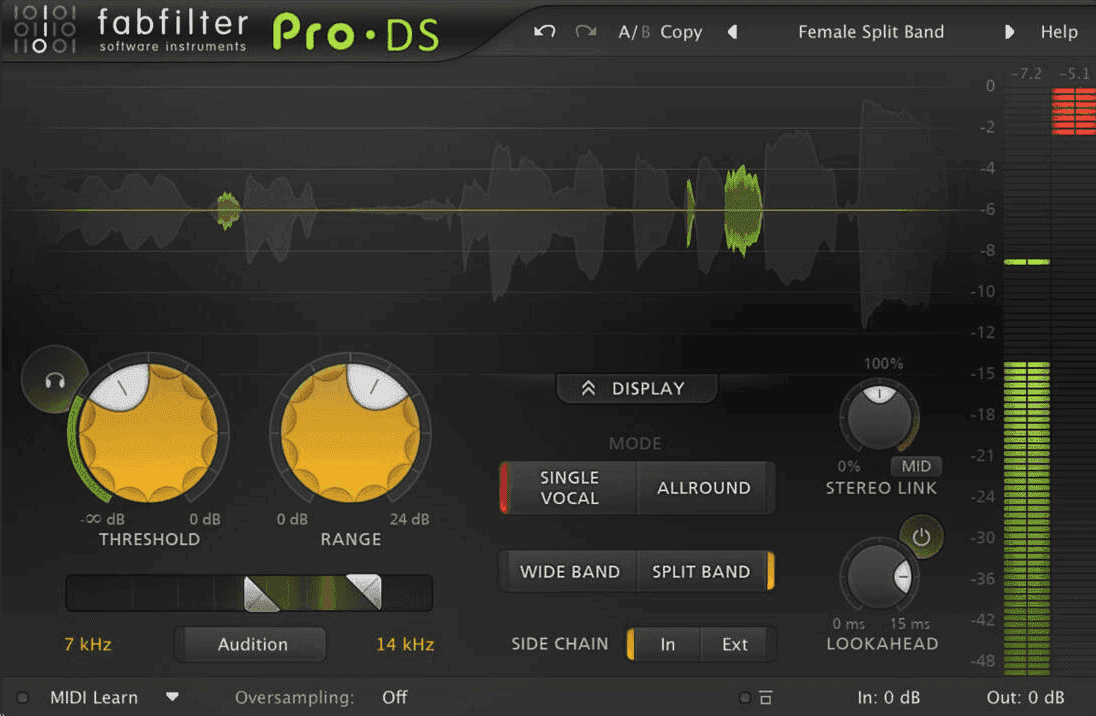
A de-esser controls excessive sibilance–those harsh “S” and “T” sounds that can cut through a mix in an unpleasant way. Placing a de-esser early in your chain will make managing these frequencies easier. Many de-esser plugins have a “listen” mode that helps you pinpoint problematic frequencies. I recommend the FabFilter Pro-DS for its intuitive interface and visual feedback.
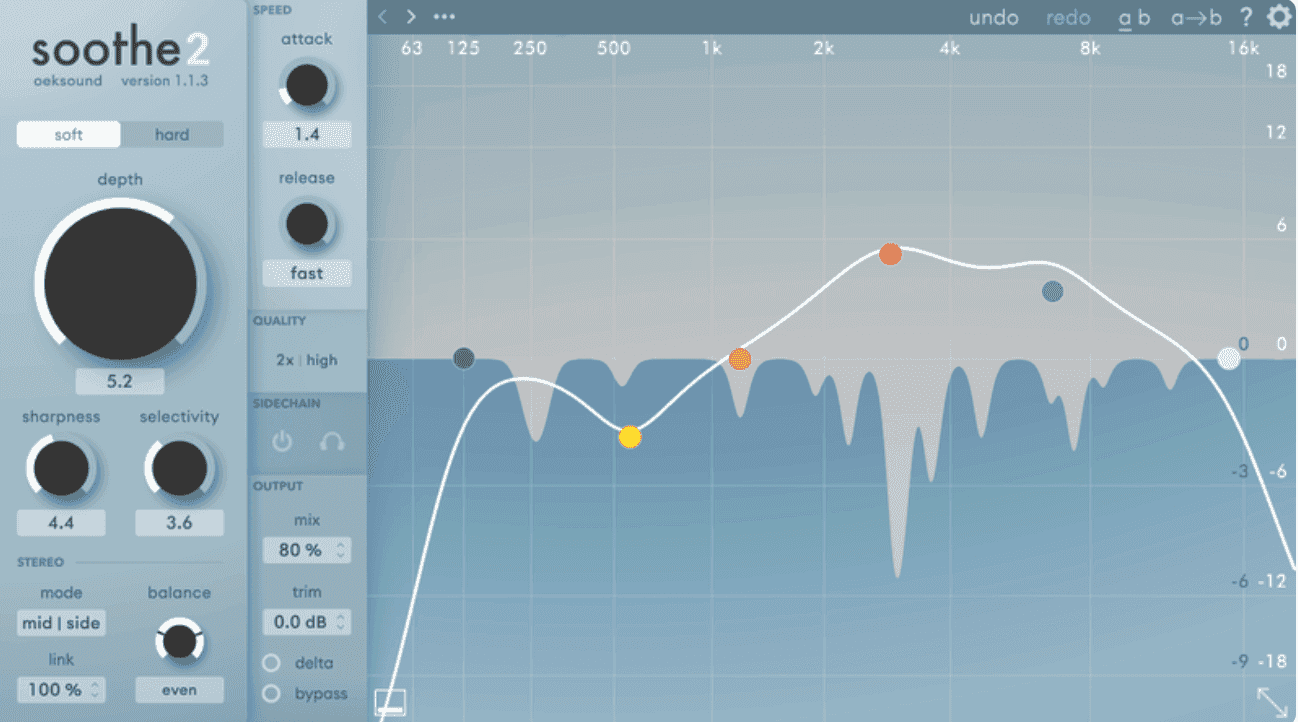
For more in-depth frequency management, try Soothe by Oeksound, which works wonders in taming harsh spikes across the frequency spectrum.
Equalization (EQ)
With those pesky sibilance characteristics under control, it’s time to shape the vocal with EQ. Whether you prefer an analog-style EQ or a modern digital one, equalizers serve both corrective and creative purposes.
Start with a high-pass filter to remove unwanted low-end rumble from things like floor vibrations or air conditioning noise. A good rule of thumb is to roll off everything below 80 Hz–but be careful not to strip away the body of the vocal.
Boosting the high frequencies, particularly in the 8 kHz-12 kHz range, can add clarity and shine to the vocal, making it pop in the mix. Two of my favorite EQ plugins are the Universal Audio Pultec EQP-1A, which adds a warm smooth character

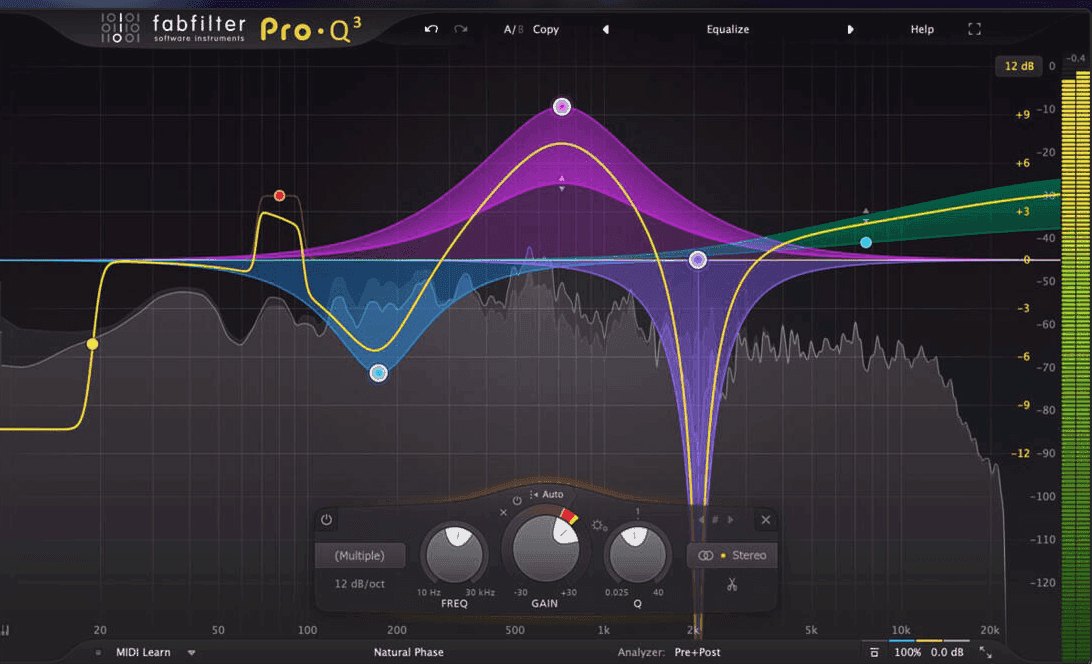
...and the FabFilter Pro-Q3, which is perfect for surgical precision and identifying problematic frequencies.
Compression
With EQ dialed in, it’s time to add compression to control the dynamics and bring the vocal front and center. One of the most iconic compressors of all time is the Universal Audio 1176. Known for its fast attack time and punchy sound, the 1176 is ideal for adding presence and emphasizing the midrange of a vocal. Apart from the plugin version from Universal Audio, other notable 1176-based plugins are available from Arturia, Slate Digital and Waves.

Another classic compressor is the Teletronix LA-2A. This tube-based compressor offers smooth compression that works beautifully on vocals. First introduced in the 1960’s, the LA-2a quickly became a studio standard when it came to processing vocal dynamics. Some excellent plugin emulations include the Waves CLA-2A, IK Multimedia T-RackS White 2A, and the Universal Audio LA-2A Collection.

Time-Based Effects: Reverb and Delay
Now it’s time to add some space. Reverb and delay can transform a dry vocal into a cohesive vocal blend that fits perfectly within a mix. I like to set up a few reverb and delay options in my template, making it easy to audition different sounds quickly.
For reverb, experiment with different types–halls, plates, and rooms–depending on the vocal’s role in the song. For delay, try varying the delay time (like slapback or eighth-note delays) to see which fits best. These spatial effects can add depth and width to the vocal without overwhelming it.
Saturation
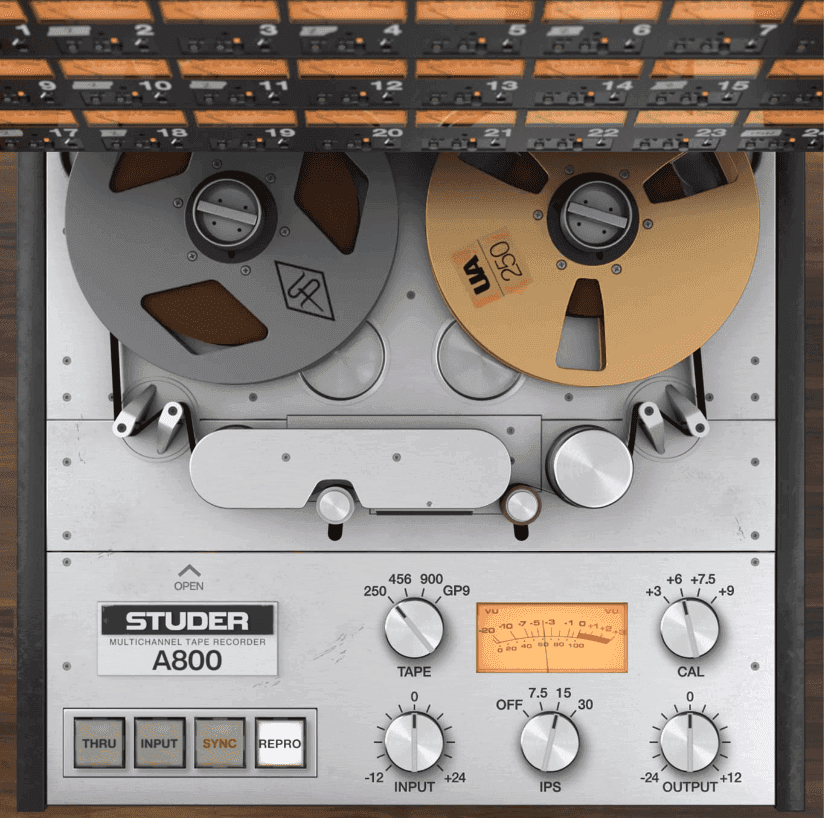
Finally, let’s talk about saturation. Saturation adds warmth and harmonic distortion to your vocal, helping it feel more cohesive and analog-like. Whether they’re tape simulators like the UAD Studer or the modern classic Decapitator from Soundtoys, these plugins can add heft while also softening some digital edges. You may want to experiment with placing saturation plugins like the Decapitator earlier in the chain, while a tape simulator could add the perfect glue at the end.
Advanced Vocal Processing
Pitch Correction
To take your vocal track to the next level, consider incorporating advanced processing techniques like pitch correction and widening. Pitch correction is used to fix any pitch errors or inconsistencies in the vocal recording. Tools like Melodyne are popular choices for this task, helping you achieve a polished and professional vocal sound.
By combining pitch correction with the other elements of your vocal chain, you can create a vocal track that is both polished and dynamic, ensuring it stands out in any mix.
Conclusion
Building a vocal chain is about balance, creativity, and problem-solving. While each voice is unique, these tools–EQ, compression, de-essing, time-based effects, and saturation–form the backbone of a solid vocal chain. Just as the human voice can vary from person to person, so can the style of EQ, compression, and other effects used for processing vocals. I encourage you to embrace an adventurous spirit and find the unique combination that gives you your own signature sound.
Go forth and create!
Get started, free.
Streamline your vocal production workflow with studio-quality AI audio tools


